 Doors can be a Pain! Learning how to install Interior Pre-hung Door does not have to be.
Doors can be the trickiest part of a remodeling project, especially if the house is old and has settled around the foundation–even if the house was built on a slab. What was once square and plumb may be off as much as an inch. A quick way to determine how much settling has occurred in a door opening is to place a framing square in the corners at the top of the opening. If there are gaps between the framing square and the studs or header, this means the use of wood shims will be necessary. Now it’s time to learn How to install Interior Pre-hung Door.
Measure twice, cut once!
If you’re measuring several doors, measure each of the doors room by room in a clockwise fashion; it will be easier for you to remember which door goes where and avoid confusion.
Make sure you’re writing this information down for your salesperson when ordering your new doors! We will be happy to label each door with the name of the room or location to make it easier upon arrival.
Start by measuring between the frame at the top, middle and bottom.
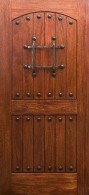
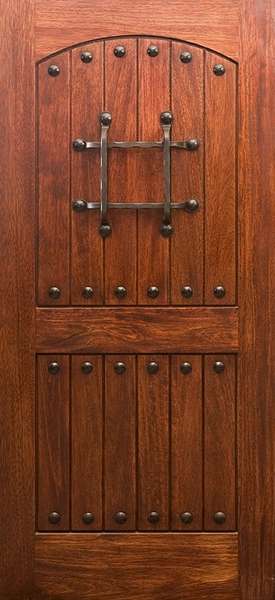
Here is a Step by Step Guide – How to install Interior Mahogany Pre-hung Door
Trim Door Opening
Trim any excess drywall around the doorway to make sure the new door will hang plumb.
 Courtesy of DK – Do It Yourself Home Improvement © 2009 Dorling Kindersley Limited
Check That Floor is Level
Mark for any shims that are needed under the level.

Determine Location for Shims
Measure and mark against the jamb where any shims are needed.

Cut Door
Cut the door to the appropriate length.

Remove Packing Material
Remove the plug that comes on the pre-hung door, as well as the temporary trim on the bottom of the door.

Attach Shim to Doorway
Tack one nail on a shim in the doorway to get started.

Position Door
Place the door inside the opening. Position the door so it is plumb, and the door is able to swing open.

Secure Jamb
Secure the jamb with nails along its length.

Check and Adjust Door Opening
Use a straight edge to check the door opening, ensuring that it has room to open and close (Image 1).
With the door closed, place a shim by the bottom hinge to accommodate any adjustments (Image 2).


Check Top Gap Above Door
Also, check the door again to make sure it is level.
 Courtesy of DK – Do It Yourself Home Improvement © 2009 Dorling Kindersley Limited
Nail Door in Place
Check the center shim and the gap to make sure the door is plumb. Nail the door in place, from the jambs through the shims.
 Courtesy of DK – Do It Yourself Home Improvement © 2009 Dorling Kindersley Limited
Fill Nail Holes
Use a nail set to set the nails beneath the wood, creating a smooth finish. Fill the holes with spackle.
 Courtesy of DK – Do It Yourself Home Improvement © 2009 Dorling Kindersley Limited
Open and Close Door
Check the door to make sure it opens and shuts properly.
 Courtesy of DK – Do It Yourself Home Improvement © 2009 Dorling Kindersley Limited
Make Adjustments
Place a level on the vertical surface to check that the door is plumb (Image 1).
If you need to adjust the door, try using a sledgehammer with a very gentle tap (Image 2).


Thanks for reading this post on How to install Interior Pre-hung Door, please let me know if you have ever installed a door in the comments below, I would love to hear about it!
 Follow